I had the pleasure of trying SliTaz Linux recently, a small, lightweight distro available as a LiveCD/DVD or startup image. Given its minimal size, SliTaz is ideally designed to boot from a LiveCD/DVD or USB drive and then reside in system memory, allowing you to remove the boot media if desired. While extremely useful this way, I decided to try out a less ephemeral installation option. This post will describe my experience installing SliTaz on a hard drive. The software versions used in this post were as follows:
- SliTaz GNU/Linux v3.0
- GParted v0.5.2-9
Configuring the Hard Drive for SliTaz Installation
To begin, I download the SliTaz LiveCD Stable version ISO and burned it to a CD. Once it was up and running, I navigated to SliTaz’s built-in installation utility located at System Tools->Slitaz installer. This same utility can also be reached from the command line. The root password in either case is “root”.
|
1 2 |
su slitaz-installer |
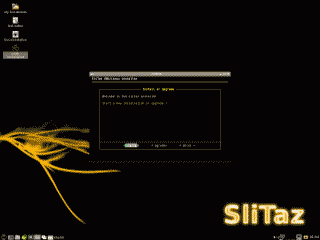
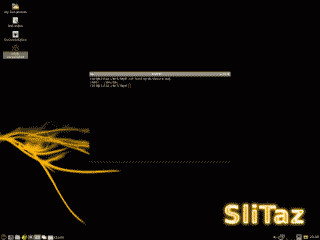
SliTaz’s ncurses-based installer is nothing if not minimilistic. However, I found it quite usuable assuming you’ve had some prior experience installing linux distributions (See Figure 1). SliTaz’s documentation suggests a minimum of 120 MB of free space. However, shortly after I finished my installation I ran df -h and determined it had consumed 285.8 MB, so I would recommend a minimum of 300 MB of free space.
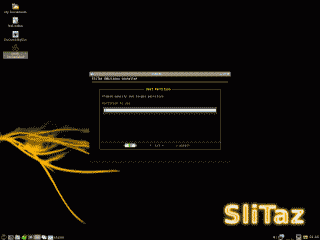
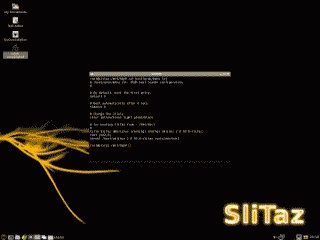
I found out quickly that the installer did lack one common feature though, a built-in partitioning tool. That meant that before I could proceed with installation, I needed a free partition ready to use, or needed to create one using Gparted (available on the SliTaz LiveCD), fdisk, or similar utility. I used Gparted to create a single primary partition (due to its deminimus size, SliTaz needs no Linux Swap partition). I verified which partitions SliTaz recognized as available by using the installer’s List menu option (See Figure 2).
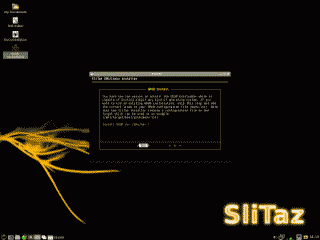
After determining which partition to install SliTaz and manually entering it into the installer (in my case /dev/hdc1), I moved on to format this partition. The only file system option here is ext3, but you can skip this step if you’ve previously formatted the partition using Gparted or another parition creation utiity. The installer then offered the option of creating a separate /home directory, which I declined, and then moved on to configuring the host name, as well as root and non-root account names and passwords. I was then presented with the option of installing the GRUB bootloader (See Figure 3).
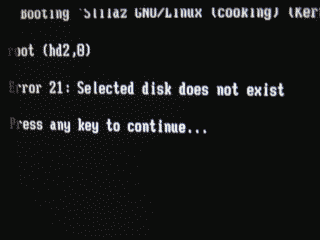
It appears the SliTaz installer only provides the option to install GRUB on the disk Master Boot Record. If I’d wanted to install GRUB on different partition, I would need to edit GRUB’s configuration file /boot/grub/menu.lst . Since SliTaz was the only operating system planned for this hard drive, I confirmed the GRUB location and the installer quickly installed SliTaz on my hard drive. After rebooting the system I was presented with the typical GRUB menu presenting SliTaz as the (only) operating system choice listed. However, trying to boot into SLiTaz from GRUB menu I was presented with an “Error 21” as shown in Figure 4.
Looking closely at the error message it appears GRUB thought that the partition for SliTaz was located on the first partition of drive hd2 (hd2,0). Since this was the only hard disk installed on the system during the install, I suspect it should have been assigned to the first partition of hd0 or (hd0,0). To verify, I rebooted using the SliTaz LiveCD, mounted /dev/hdc1, and looked at the GRUB device map to see what GRUB named the drive (See Figure 5).
|
1 2 3 4 |
su mkdir /mnt/tmp mount /dev/hdc1 /mnt/tmp && cd /mnt/tmp cat boot/grub/devices.map |
It appears GRUB assigned (hd0) to the drive /dev/hdc. Then I looked at GRUB’s configuration file to determine which partition was configured for the SliTaz boot partition /dev/hdc1 (See Figure 6).
|
1 2 |
cd /mnt/tmp cat boot/grub/menu.lst |
As I suspected, the SliTaz installer assigned /dev/hdc1 to (hd2,0), a nonexistent drive and partition. To fix this I simply changed (hd2,0) to (hd0,0) and I was back in business.
What may have occurred was that my hard drive was attached as a master on the secondary EIDE slot on the motherboard. Even though it was the only hard drive attached to the system at the time of the install, the SliTaz installer erroneously assumed it was the third and designated it as /dev/hdc. This led to the problem later when the GRUB device map did not agree with the GRUB configuration file.
Conclusion
Despite the lack of some features in the SliTaz installer and the GRUB Error 21 problem, I found installing SliTaz Linux to be a fairly straightforward affair.
References
http://www.slitaz.org/en/doc/handbook/install.html
https://help.ubuntu.com/community/GrubHowto
